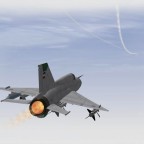
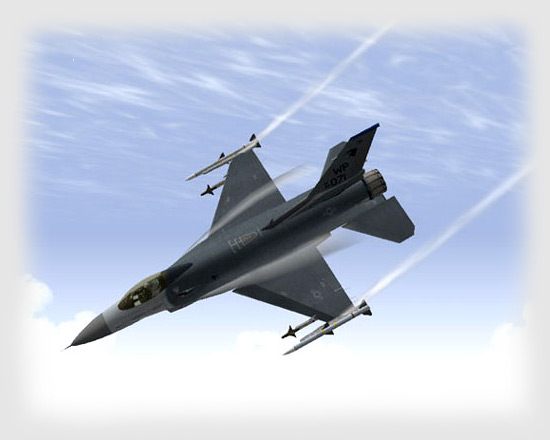
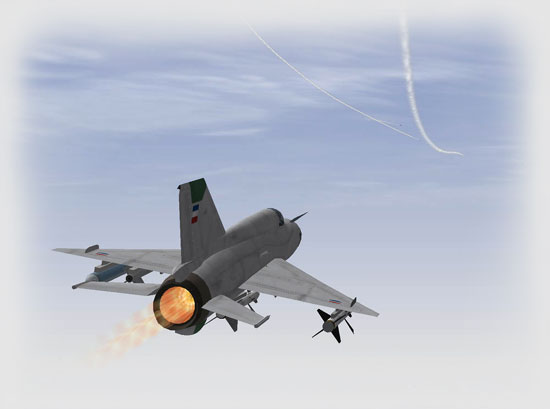
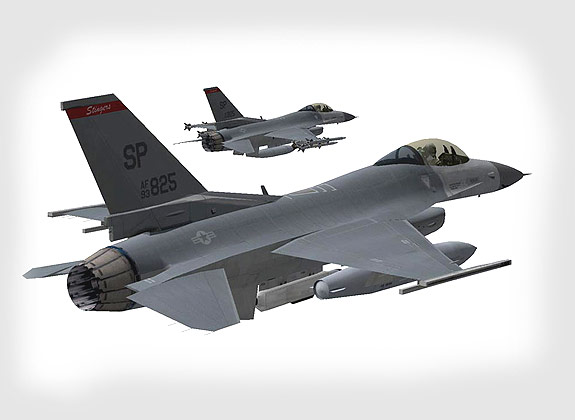
This won’t be a campaign mission report, but rather an overview of just how much you can choose to do when planning a normal campaign mission. If you are new to F4, this should give you an idea of how intricate the planning can be for a serious Falcon pilot. Alternatively, you can just hop in the cockpit and start shooting things down too; play it however you desire!
For my first mission I selected an Offensive Counter Air strike (typically, but not always an airbase strike) departing from the NATO base at Brindisi-Casale. The mission schedule shows that my takeoff time isn’t until 08:52, so I have a good bit of time to do my planning. I can pause or speed up the theater clock at any time by selecting a speed in the upper right hand corner of the menu screens (pause and 1x to up to 64x speed). Since I have so much time I just let the clock run at normal time and I can hear the first strikes leaving and AWACS already calling out threats airborne over the battlefield.
 |
 |
The BRIEFING screen gives a text description of the ATO mission that I’ve accepted. It is extremely detailed and lists every facet of the mission I’m about to fly, including times, weapons, support, weather and rules of engagement. Since you can’t revisit this information mid-mission except for a few notes that are transcribed onto your knee-board, it is a good idea to use the PRINT button to print the mission specifics out.
The ATO generates rather generic mission plans so carefully scrutinize your waypoints to assure that you are taking the best ingress and egress routes to the target. Use the map tools to show enemy concentrations, known SAM site threat rings and other highly defended areas (airfields) and then manipulate your waypoints to avoid them, keeping in mind however, that your TOT (time on target) is designed into the ATO to prevent conflicts from arising on the battlefield. Here you can see the ATO flight plan put my IP (initial point) inside the threat ring of a fixed SA-2 and SA-3 site east of our strike location. In order to keep my flight away from the threat, I simply move the waypoints to suit my needs.
 |
 |
 |
Related Posts:
Related posts:
 Falcon 4.0: Allied Force
 Falcon 4.0: Allied Force – Part 2 Page 4
 Falcon 4.0: Allied Force – Part 4 Page 8
 Falcon 4.0: Allied Force Part 5 Page 2
 Tom’s HiTiles for Falcon 4: Allied Force Page 2
Tom’s HiTiles for Falcon 4: Allied Force Page 3
Tom’s HiTiles for Falcon 4: Allied Force Page 4
Tom’s HiTiles for Falcon 4: Allied Force Page 7
Tom’s HiTiles for Falcon 4: Allied Force Page 2
Tom’s HiTiles for Falcon 4: Allied Force Page 3
Tom’s HiTiles for Falcon 4: Allied Force Page 4
Tom’s HiTiles for Falcon 4: Allied Force Page 7