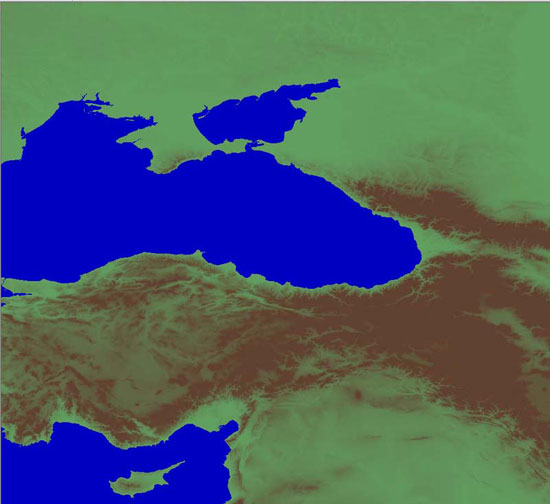
After you’ve decided exactly where you want to make your terrain, you need to go and get the necessary files for the Terrain Editor to make use of it all. The first thing is going to the USGS’s EROS Satellite Data Website. This is the repository for all of the EROS satellite data as they do terrain mapping of the Earth. The height field maps you need, based on satellite topography, are all available here.
…Then after a week and a case of Shiner Bock, it looks like this!
They are compressed into zipped-up files. Download and unzip the DEM files (these are the actual height field data maps) you’ll think you’ll need in order to get the complete height field map correct, otherwise you end up with Paraguay next to Sweden and you know how those people are about soccer.
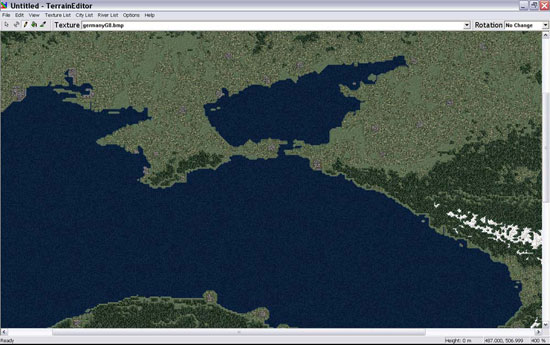
Then, you’ll take the CAT Extractor Tool and extract every last friggin’ file you need for the terrain from an existing, stock terrain folder. These files go into the Terrain Editor’s folder. There are a buttload of .tga files that deal with roads and water that have to be converted into .bmp format. This takes forever and it took no less than 20 tries and considerable amount of line-by-line editing of the .ini files to get these to work.
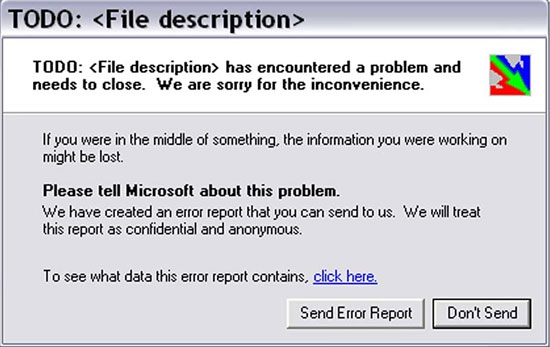
Get used to seeing this a lot at first.
Now that you have the main terrain mapped out, it’s time to haul out the old atlas and figure out where the heck everything goes. The Terrain Editor has a City List tool that allows you to place your cities on the map and it’s good for just about any kind of target area you want to lay out. It helps level out the ground, because if you don’t you wind up with buildings and airfields jutting out of gently rolling hills like some deranged Salvador Dali painting…if Salvador Dali downed a fifth of Herradura Silver and joined the Marines.
Related Posts:

Related posts:
 A Modder’s Diary – Episode I: The Terrain
 Page 2
A Modder’s Diary – Episode I: The Terrain Page 3
A Modder’s Diary – Episode I: The Terrain Page 5
A Modder’s Diary – Episode I: The Terrain Page 6
A Modder’s Diary – Episode I: The Terrain Page 7
A Modder’s Diary – Episode I: The Terrain Page 8
A Modder’s Diary – Episode I: The Terrain
A Modder’s Diary – Episode I: The Terrain Page 2
A Modder’s Diary – Episode I: The Terrain Page 3
A Modder’s Diary – Episode I: The Terrain Page 5
A Modder’s Diary – Episode I: The Terrain Page 6
A Modder’s Diary – Episode I: The Terrain Page 7
A Modder’s Diary – Episode I: The Terrain Page 8
 A Modder’s Diary – Episode II: The Planeset Page 4