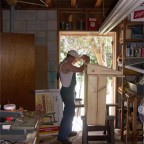
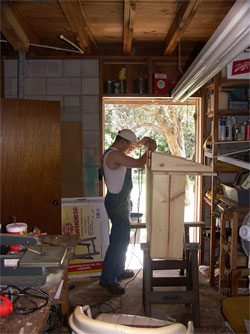
Attaching the Backing
I used a piece of 1/4th-inch plywood for the backing and ordinary drywall screws to put it place. The screw heads would be out of sight and no one would see the difference. It was now time to stain it. There are two schools of thought for the application of stain to wood:
- Too much.
- Not enough.
I’ve never been able to strike a balance between the two. Apply too much and the wood loses its warmth and looks plastic-like. Apply too little and it looks like you doused it with water and nothing else. I chose Minwax’s Natural varnish to keep the pine looking warm by enhancing the yellow look. Or, at least that’s what I told myself when I applied the stuff and didn’t notice a huge change. Actually, it looked a little darker and it sealed the wood quite nicely.

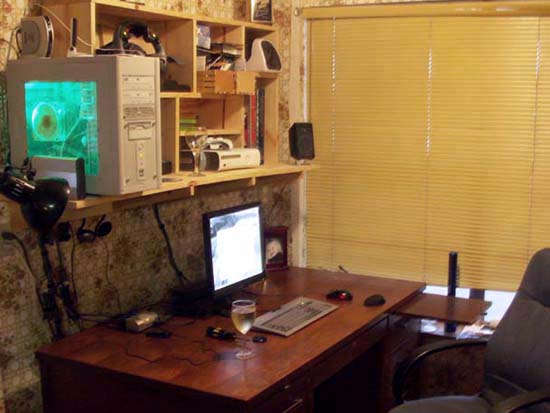
Finished Shelves
After all the work, it was time to enjoy the fruits of my labors. I used one of my kids’ toy boxes and my trumpet case from high school band to hold it up to the proper height. I then received a dented skull at the hands of the 3-foot fluorescent light ballast normally hanging above my desk, after a late, brief, (and a smidge half-hearted, I might add) warning of impending danger from my wife who was watching with what could only be described as amusement. The same amusement you get when picking the lobster out of the tank, I observed.
I used no less than sixteen wood screws to secure this behemoth in place. I didn’t want the morning papers to read, “Man Killed by Shelves”, so I figured the more, the better. I then gingerly stacked my gear in place on the shelves, waiting for the moment when gravity would overcome compression and the whole thing would dump my hobby into the floor.

Voila!
It worked! Better than I thought it would have, too. I must confess a slight thrill at seeing the conversion of raw lumber and screws into something useful and knowing I put it together myself. My wife will eventually confess a slight fear, knowing now that I feel a little more empowered in the art of woodworking. Either that, or she’s gonna have me building crap for the house all summer. Does my daughter really need an oak-stained shelf for her My Little Ponies?
Now, if you’ll excuse me, I’m going to wash down about four Advil with a glass of pinot grigio. My back is killing me.
We want your Feedback. Please let us know what you thought of this article here.
Related Posts:
Related posts:
 Building the Perfect PC Cabinet
 Page 2
Building the Perfect PC Cabinet Page 3
Building the Perfect PC Cabinet Page 4
Building the Perfect PC Cabinet Page 5
Building the Perfect PC Cabinet Page 6
Building the Perfect PC Cabinet Page 7
Building the Perfect PC Cabinet Page 8
Building the Perfect PC Cabinet
Building the Perfect PC Cabinet Page 2
Building the Perfect PC Cabinet Page 3
Building the Perfect PC Cabinet Page 4
Building the Perfect PC Cabinet Page 5
Building the Perfect PC Cabinet Page 6
Building the Perfect PC Cabinet Page 7
Building the Perfect PC Cabinet Page 8