Pit Building at a Surprisingly Economical Price
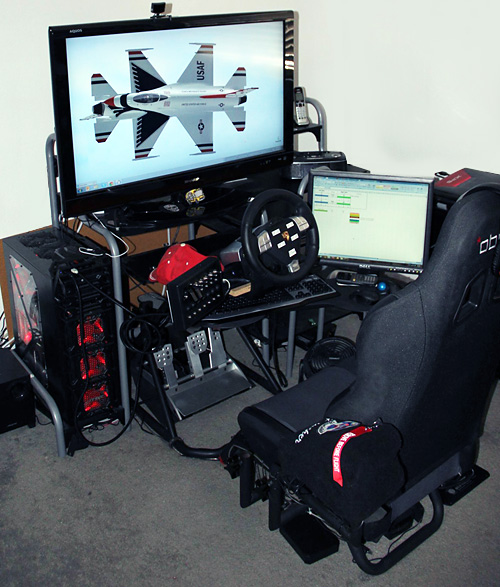
 I’ve been tinkering with my homebrew, all-purpose cockpit for years now. I’ve been looking for just the right set-up for my home where it’s nice and comfy all year round. With the SCS FX, I’ve found it.
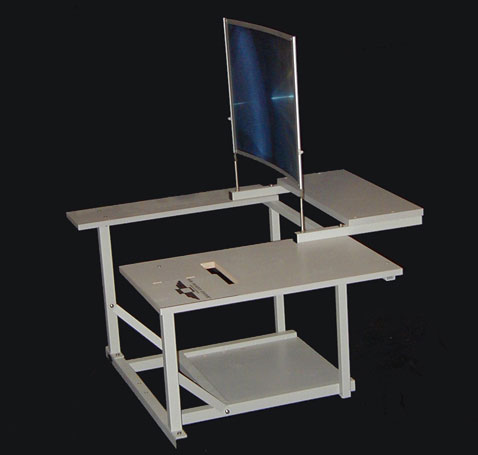
For this review, I will be presenting the set-up and assembly of the Sim Cockpit FX and Cockpit Seat.
You may remember the SimHQ review Doug “Uther” Lawrence did on the SCS-F3 cockpit system a few years ago. As Uther points out,“Sim Cockpit System is owned and operated by Kurt and Mike Gamnig. Kurt, a retired airline pilot, has developed several available cockpits. He has stated that his designs are inspired from the simulators he used while working as a commercial pilot.”
Living just over the hill (literally!) from the SCS facilities, I was able to meet with Kurt and discuss some of the features of his cockpits. We discussed his quality control, and how the cockpit should be optimally setup.
While visiting and picking up my new FX cockpit, Kurt invited me to try out his own Cockpit GX. I must say, flying in his GX, added a whole new dimension to flying a simulator on a computer.
Surprisingly, Kurt doesn’t use a NaturalPoint TrackIR™ System in his cockpit. I suggested he get one because it would add to the immersion. His reply was, “that isn’t what a pilot sees in his cockpit or in the real thing”. After actually flying in the multi-monitored GX, I can understand why he would say this. Not that I still wouldn’t still like to have a new TrackIR™ 5 for my setup! Setup correctly, all Sim Cockpit Systems feel as though you are in the cockpit of an actual aircraft.
Once back home with my new toy, it was time to get busy with the construction!
Seat and Base Assembly
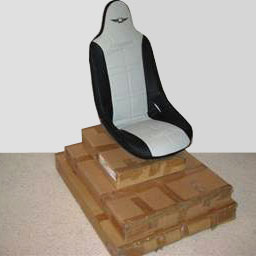 |
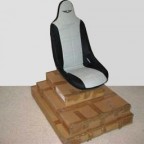
If you order the Sim Cockpit FX and cockpit seat, this is what would show up on your doorstep, except for the seat which arrives in its own box. |
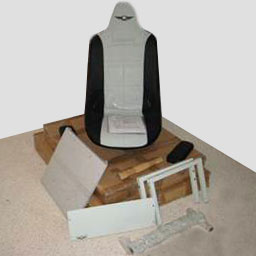 |
In the smallest of the three boxes is the hardware for the cockpit seat. |
 |
Included are easy-to-follow assembly instructions, hardware and tools all in one box. |
 |
You attach the legs to the seat support to create the chair base. |
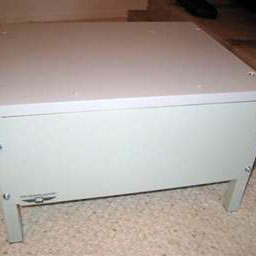 |
Next you attach the rear support for the legs. |
 |
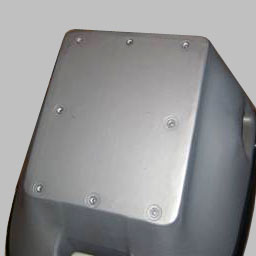
You’ll note that on the chair base there are four pre drilled holes to attach the seat… |
 |
…and there are eight fasteners for screws to attach the seat. |
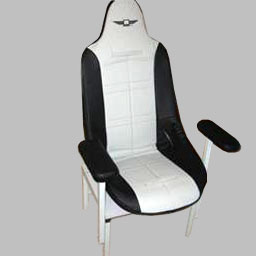 |
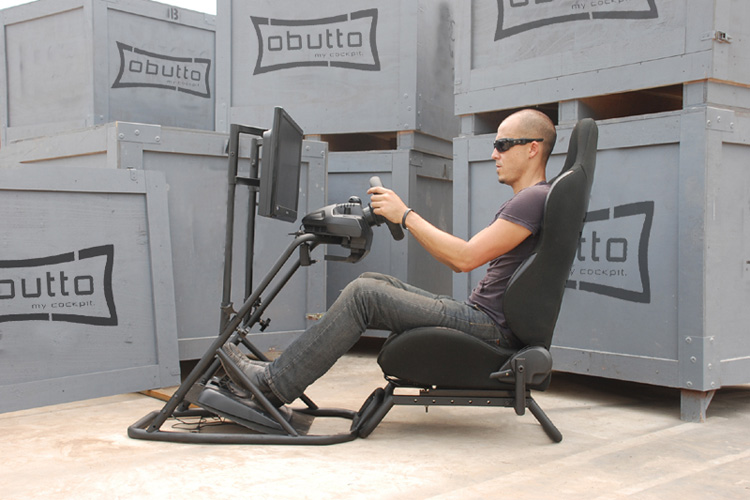
Once the seat and arm rests are firmly attached, you’ll have the finished unit that looks like this. |
The arm rests are adjustable up and down. I did find them to be able to move slightly (fore and aft) even when tightened down approximately 1/8 to 1/4 inch. The mounting feature for the arm rests are two screws going through the square channel and attached to the chair legs vertically. I would suggest adding a support bracket off the aft portion of the arm rest to the chair base. That would resolve the movement. Now, if you are a “wide-body”, you may find the seat somewhat uncomfortable at the hips. Try moving forward two to three inches. Repositioning makes a world of difference in the comfort department.
That pretty much sums up the seat assembly, so let’s move on to construction of the cockpit itself.

