Gameplay
Documentation
In addition to the Quick Start Manual, SSM2007 provides a 106- page Commander’s Reference Manual. This manual gives conceptual descriptions of the various Shuttle mission phases, instructions for using the Shuttle’s control and computer systems (such as MFDs, orbital maneuvering thrusters, and the RMS arm used to manipulate cargo) and landing instructions. I managed to successfully complete the STS-1 mission in Easy mode by only reading the landing section of this manual (the Shuttle landing profile is quite unlike that of conventional aircraft that one may be used to from other flight sims). If the Commander’s Reference Manual doesn’t give you enough information, Exciting Simulations recommends reading the NASA Official Space Shuttle Manual.
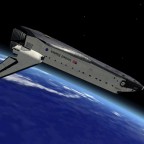
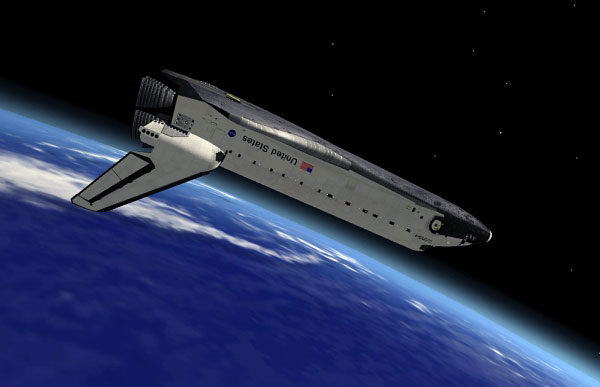
SSM2007 offers a 3D cockpit and numerous representations of 2D panels. In addition, there is an external view option that may be rotated around the Shuttle, an infinitely adjustable free external camera, and a view from the VIP seating area for launches. While the external views can be stunning, obviously you get your work done on the inside.
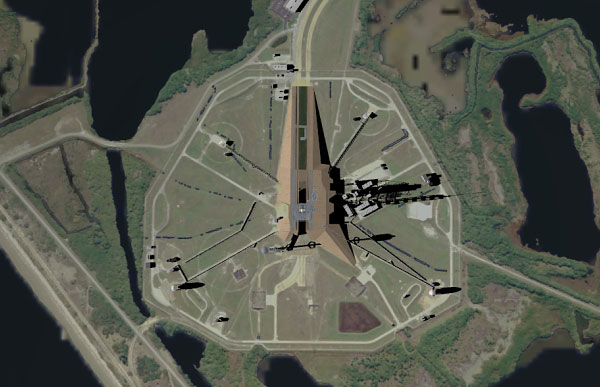
View Down to the Launch Area
Inside the Shuttle, you need to use the 3D cockpit and the 2D panels to accomplish your mission. The SSM2007 developers chose to simulate only the latest version of the Shuttle cockpit, with glass displays. The Commander’s Reference Manual explains that the developers felt that modeling multiple Shuttle variants would only be an exercise in frustration.
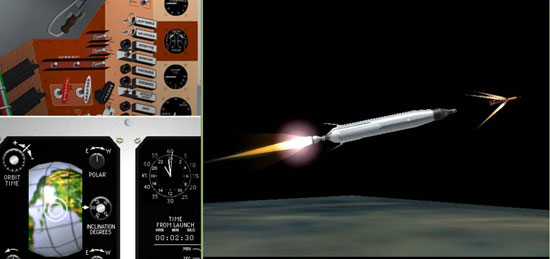
The SSM2007 3D cockpit looks nice, but unfortunately it isn’t clickable. This is an interesting gameplay and technological decision by the developers. What it means is that you have to use the 3D cockpit to navigate to different panel sections, then select a section to jump to a 2D view, click the appropriate buttons or switches, return to the 3D view, and move to the next panel to continue your work. While in the 3D view, moving the mouse pans the view around. When you right-click, the view freezes and the SSM2007 mouse cursor becomes visible. At that point panel sections are covered in a yellow shaded highlight in order to indicate that, should the user click, the view will jump to that 2D panel. Moving the mouse to the edges of the 2D panels scrolls the view in that direction. Given the incredible number of switches in the Space Shuttle, and the detailed labeling on many of them, the decision to avoid a clickable 3D cockpit (and the panel legibility that would need to accompany it) is understandable. I found myself readily adapting to SSM2007’s view system even though I’ve never encountered anything like it before.

Control Panel
Throughout SSM2007 missions, instructions are given at the bottom of the screen in yellow text. A mission timer as well as the “NO GO” indicator (letting you know that you have yet to perform a required action) are shown in the upper right corner. Either of these graphical elements can be toggled off if they happen to be in the way of a certain switch or instrument readout.
SSM2007 offers three gameplay difficulty options, labeled Easy, Medium, and Hard. In Easy and Medium difficulties, checklist items appear on the screen accompanied by panel reminders (in other words, the checklist item will reminder you which panel you need to be looking at, then tell you what to do on that panel). With the Easy setting there is also a flashing yellow help arrow that points at the switch, knob, or button that you need to manipulate. This help arrow allows a new SSM2007 user to complete at least a simple mission with a minimum of frustration, by preventing endless search after search for the proper button or switch. Switches are moved up by left-clicking and down by right-clicking. Rotary knobs are moved clockwise/counterclockwise in a similar manner.

Panel Help
As far as I can tell, the help arrow is the only difference between the Easy and Medium difficulties, although it’s clearly a big difference. However, the Hard setting is an entirely different way of playing SSM2007. For example, with Easy and Medium settings, the first instructions to the player in STS-1 are a string of switches to flick and commands to enter on the keypads. Each checklist item is accompanied by a panel number reminding the user where each switch or button can be found. But in Hard mode, the first instruction to the user is “Load OMS burn targets. Execute auto maneuver and execute timer start. Arm and pressurize the OMS.” That’s all you get, although there are downloadable checklists for each mission on the SSM2007 web site.