Packaging
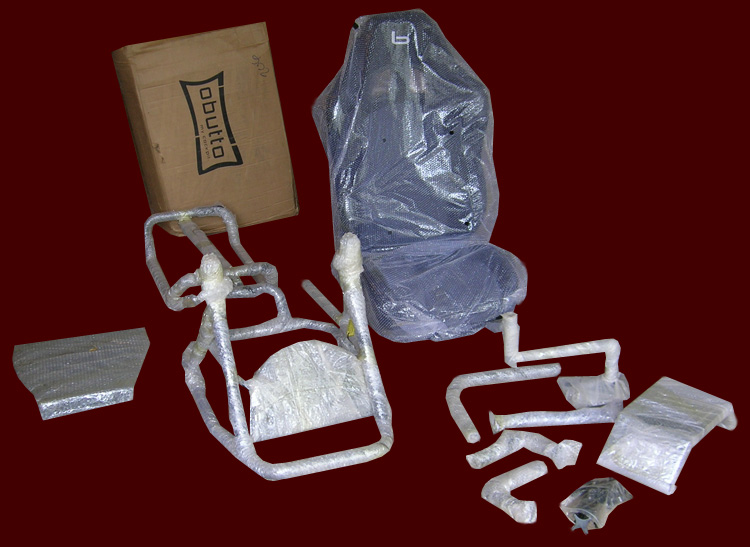
When the boxes arrived, I honestly couldn’t believe all the components could fit inside the boxes. As I opened the largest one first, I realized there was a lot of work that went into the placement and protection of the contents.
Everything was heavily wrapped in bubble-wrap. There were two large foam core block-shaped separators keeping major components apart and a smaller rectangular box contained items like the hardware and instructions. The list of components for the Obutto oZone Gaming Cockpit includes:
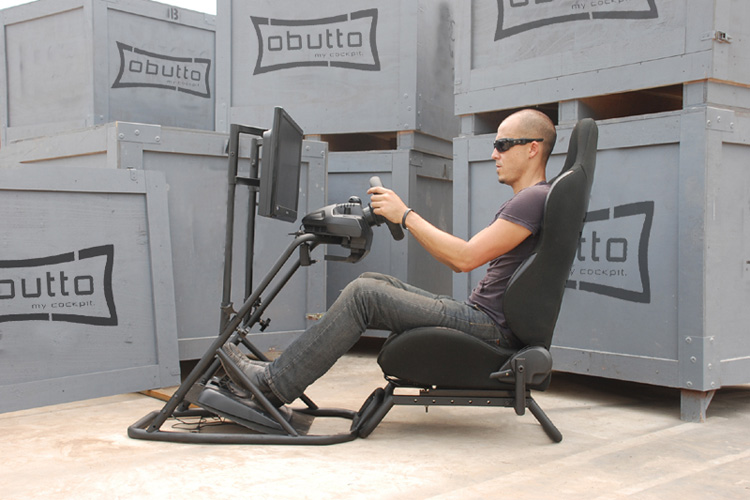
- sports car seat that reclines and moves fore and aft on sliders
- removable swiveling and telescoping keyboard / mouse tray with a mouse pad finish
- thick-walled carbon steel frame (3.2 cm diameter pipe) in 2 sections
- angled height adjustable steering wheel mount
- removable monitor stand for hard mounting monitors that are VESA bolt pattern compliant
- an adjustable rubber covered pedal tray
- H-pattern shifter mount (mounts on either side of the frame)
In spite of the care, I had one issue with an indentation in the bottom seat cushion from something in the box pressing against it. It has already started to return to its original shape so I do not consider this an issue that needs replacement or repair. Beyond that, not another item or surface was marred. The beautiful matte-black finish of the components arrived without scratches or dings. The entire contents of the main box is pictured below.
 |
The bag of hardware contains the three prong knobs to tighten down the mount positions, the carriage bolts, washers, lock washers, and nuts for the various mounts and fittings. While the bag was inside the smaller box, the seal on the end of the bag had opened. It might be good if a piece of tape or possibly a stronger seal on the hardware bag could be used to ensure no hardware items escape the ride over.
 |
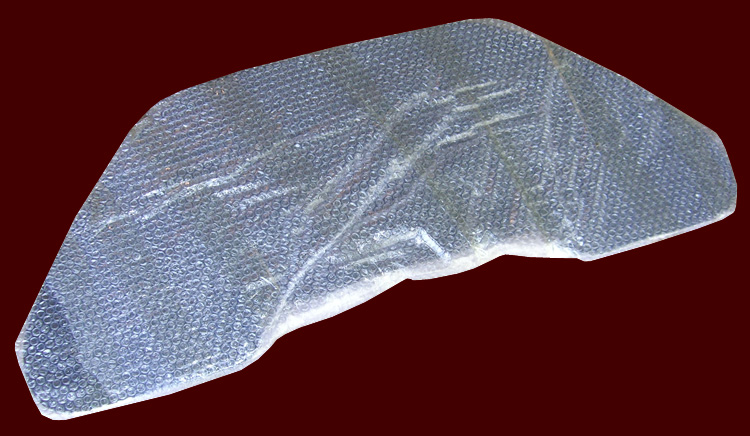
I ordered the acrylic tabletop just because I’m always sitting stuff on the my current desktop. Sure, there’s the entire floor area around the cockpit, but what’s the fun in that? Besides, the shape is reminiscent of a WWI Fokker tail section or an F1 front splitter, so why not! Seriously, as you will read later in the review, the acrylic tabletop proved to be a very wise purchase.
 |
The flight simulation package consists of two L-shaped mounts which bolt onto the main frame section and two controller trays. You can use them as a left-right configuration, or for house fan pilots, one of the trays and L-shaped mounts can be attached to the front of the seat section for flying with a center mounted stick. you can then mount the remaining L-shaped mount and tray on the left or right side for the throttle or a supplemental controller. The bag of hardware contains the three prong knobs to tighten down the mount positions, and the carriage bolts, washers, lock washers, and nuts for the L-shaped mounts.
 |
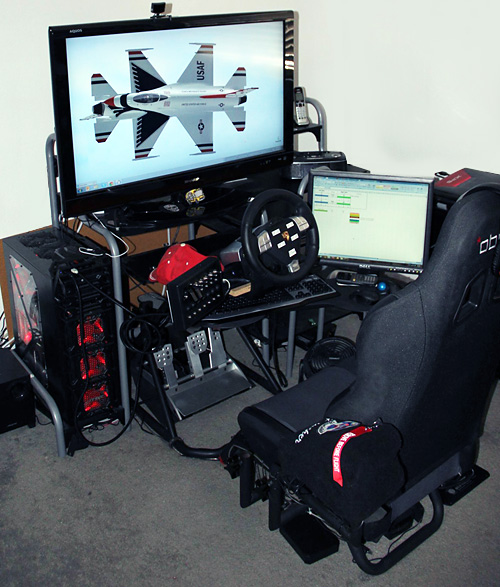
Only one item I did not purchase from Obutto — the multi-monitor mount. Not because I’m not a big proponent of multiple monitors, but my plan is to use our 32″ ViewSonic N3260w HDMI TV/monitor and a secondary Envision 17″ LCD monitor for TeamSpeak, PDFs and Notepad stored references.
|
Introduction > The “Sim Cave” > Obutto > Packaging > General Assembly > Tabletop, Pedals and Keyboard/Mouse Trays > Flight Simulation > Sim Racing > Conclusion |
| Go To Page 3 |