Upper Panel Shroud
With the basic cockpit put together, let’s begin installing the upper panel shroud. It comes with mounting hardware, supports, left and right panels and forward panel.
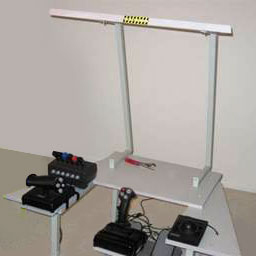 |
I installed the supports and top panel. |
 |
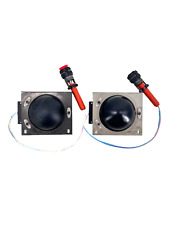
The forward and right side panels. |
 |
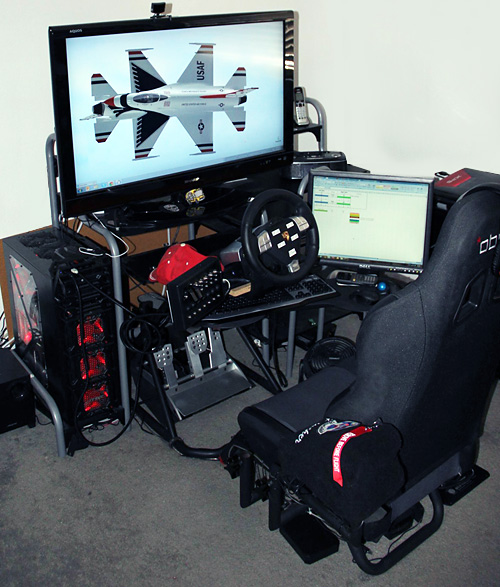
The left side panel, keyboard, and the lower 19” monitor. |
Multiple Monitors and Projectors
If you want to put one monitor atop another for a vertical setup, or arrange multiple monitors in a Matrox Triplehead2Go configuration, information on that is here.
Me being me, the tinkerer, I simply put my 22” monitor atop a shelf I built that rests behind my 19” monitor. Here’s my latest configuration.

Kurt has his setup configured with a projection system! Click here and here to see more about the SCS projector and bracket approach.

I will say this, for those of you that fly using a projector for your outside scenery, wow! I didn’t realize what I’d been missing. It definitely adds to the realism.
While the Sim Cockpit FX is primarily intended for flight sims, racing fans can make good use of it too.

Conclusion
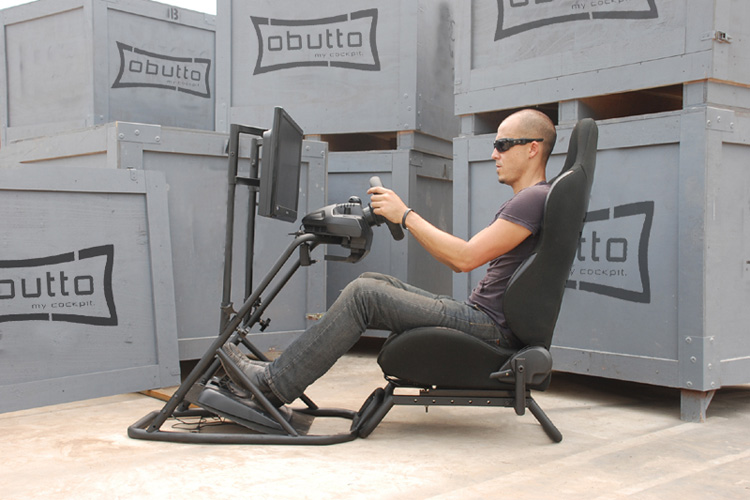
Now I know what most of you are thinking. A setup like the Sim Cockpit System FX and Cockpit Seat, that’s got to be way out of my budget. Well you can get the Cockpit System FX for $89.00 and the Cockpit Seat for $99.00 (plus shipping). Surprising, huh?
In summary, the Sim Cockpit System, regardless of which model you choose, is a flexible cockpit system that can accommodate most of what you want in a simulation environment. It’s sturdy and manufactured well. The entire project took me 4 hours to assemble from in-box to in-flight. It probably would have taken me even less time if I weren’t concerned about cable routing and my CH Throttle Quadrant modification.
For any of you interested in an out-of-the-box solution like this, you should look into a Sim Cockpit System.
We want your Feedback. Please let us know what you thought of this article here.
Related Posts:
Related posts:
 Obutto oZone Gaming Cockpit Page 2
Obutto oZone Gaming Cockpit Page 3
Obutto oZone Gaming Cockpit Page 5
Obutto oZone Gaming Cockpit Page 7
Obutto oZone Gaming Cockpit Page 2
Obutto oZone Gaming Cockpit Page 3
Obutto oZone Gaming Cockpit Page 5
Obutto oZone Gaming Cockpit Page 7
 Obutto R3Volution Gaming Cockpit Page 3
 Sim Cockpit System FX and Cockpit Seat
 Page 2
Sim Cockpit System FX and Cockpit Seat Page 3
Sim Cockpit System FX and Cockpit Seat
Sim Cockpit System FX and Cockpit Seat Page 2
Sim Cockpit System FX and Cockpit Seat Page 3